Shaderific for OpenGL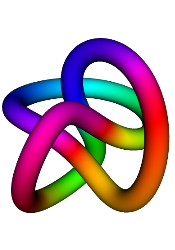
Since version 2.0 Shaderific supports importing your own texture files. In general the import process is really easy and straightforward but with respect to cubemaps there are some caveats.
If at least one of these conditions is not met by your cubemap texture file, Shaderific will treat it as a texture2D instead and scale it down to the maximum texture size automatically.
No. There is one further caveat. A cubemap consists of six equally sized images - one for each side of the cube - stitched together.
Imagine standing (or flying) in the center of a cube and looking at the four walls, the ceiling and the floor one after the other. If you would take a foto each time you did change your orientation you would get the six images that are comprised by a cubemap. But these images have to be rotated and arranged in the right order before beeing stitched togher. Otherwise your cubemap might end up upside down or the ceiling will show at the bottom of the cube.
It's actually quite simple if you know the rules. I will show you how to do it using an example.
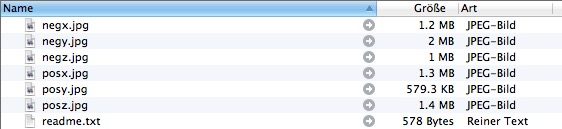
Shaderifc comes with two build in cubemap textures from Emil Persson.2 You can find a lot more beautiful high resolution cubemaps at his website. If you download one of the cubemap textures you will end up with a folder with six image files in JPEG-format.3
Now there are three things to do:
Since these are high resolution images (2048 x 2048 pixels) you will end up with a cubemap with more than 25 megapixel. The iPad is able to handle that, but it might slow down performance quite a bit especially on older devices. Scaling the images to 1024 x 1024 pixels brings your cubemap down to about 6 megapixels and you will still get nice results if the texture is used in an environment shader.
The images that represent a wall of the cube (right, left, front, back) have to be rotated by 180°. Be aware: they have to be rotated, not flipped vertically! These are the images in your folder named: posx.jpg, negx.jpg, posz.jpg, negz.jpg. That's all.
As last step the images have to be stitched together. They have to be arranged vertically resulting in a cubemap with a height that is six times the width.
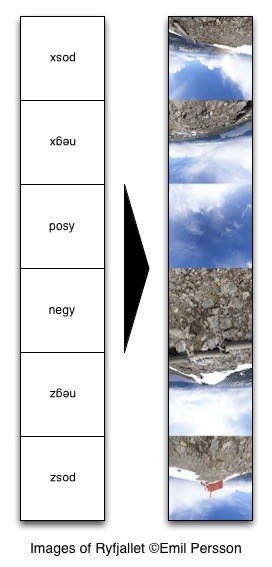
Open your favorite image editor and create a new canvas with the same width as your (scaled) image files and a height that is six times the width. Copy or drag the image files in your canvas and arrange them as follows (top to bottom):
Save the image as a JPEG-file (or any other file format that is supported by Shaderific) and move it to your Shaderific specific Dropbox folder.
When you import the image, Shaderific will recognize the image as a cubemap based on the image dimensions and the cubemap option will be set to true as default. The option "Origin bottom left" has also to be set to true.
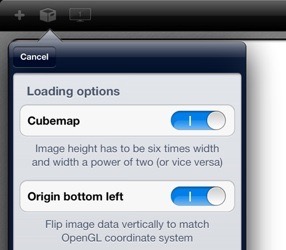
Press the Generate-Button and you are good to go!